Welcome back to House G. I call it the house that keeps on giving… so much trouble!
THE WHY
Before we jump right into the After pictures, let’s talk about the why. Why did we even go down this seemingly extensive renovation route?
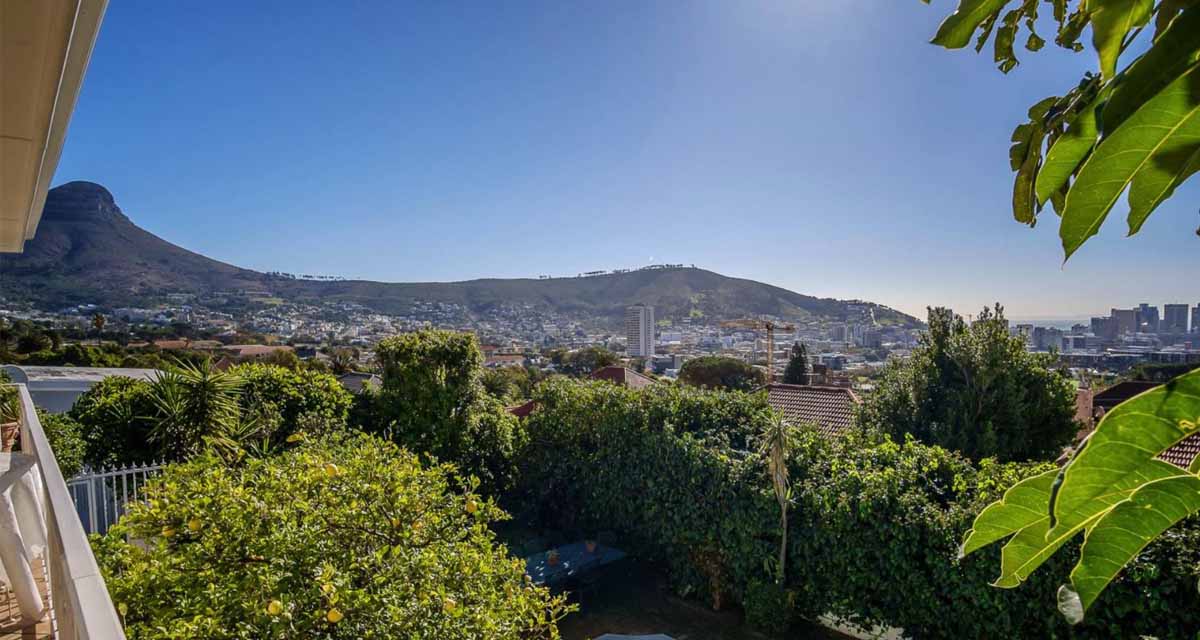
As you can see, the sweeping views across Cape Town’s CBD and the surrounding mountains are really quite stunning. The Housemate was sold on the views, and it was at this point I was brought in to have a look at the house.
While I nodded my head on the views, the overall layout of the house and the potential hidden behind all the frilly curtains, I was dead set against having all the living spaces upstairs and the pool and garden area downstairs.
For me, there is no practicality in a house, especially with little children, where the kitchen is set back upstairs while the kids are playing and/or swimming downstairs. The thought of having to carry water bottles, toys, towels, snacks, my drinks – basically anything and everything you need – up and down the stairs all day long, and also trying to cook a meal was a complete deal breaker. Potentially PTSD from years of living in walk-up apartments.
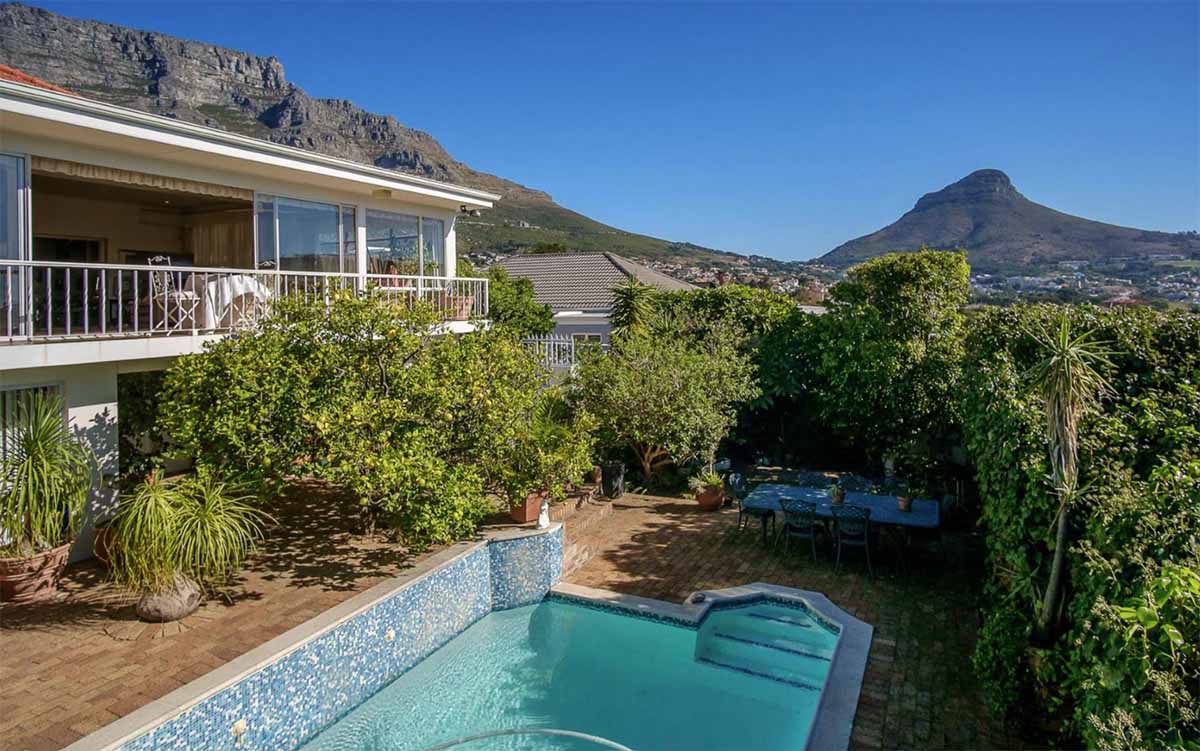
My condition for being onboard with this house was that we flipped the working layout of the house, taking all the key living spaces downstairs, to be on the same level as the garden and swimming pool. This would give us single level living and that indoor outdoor flow that I am all about.
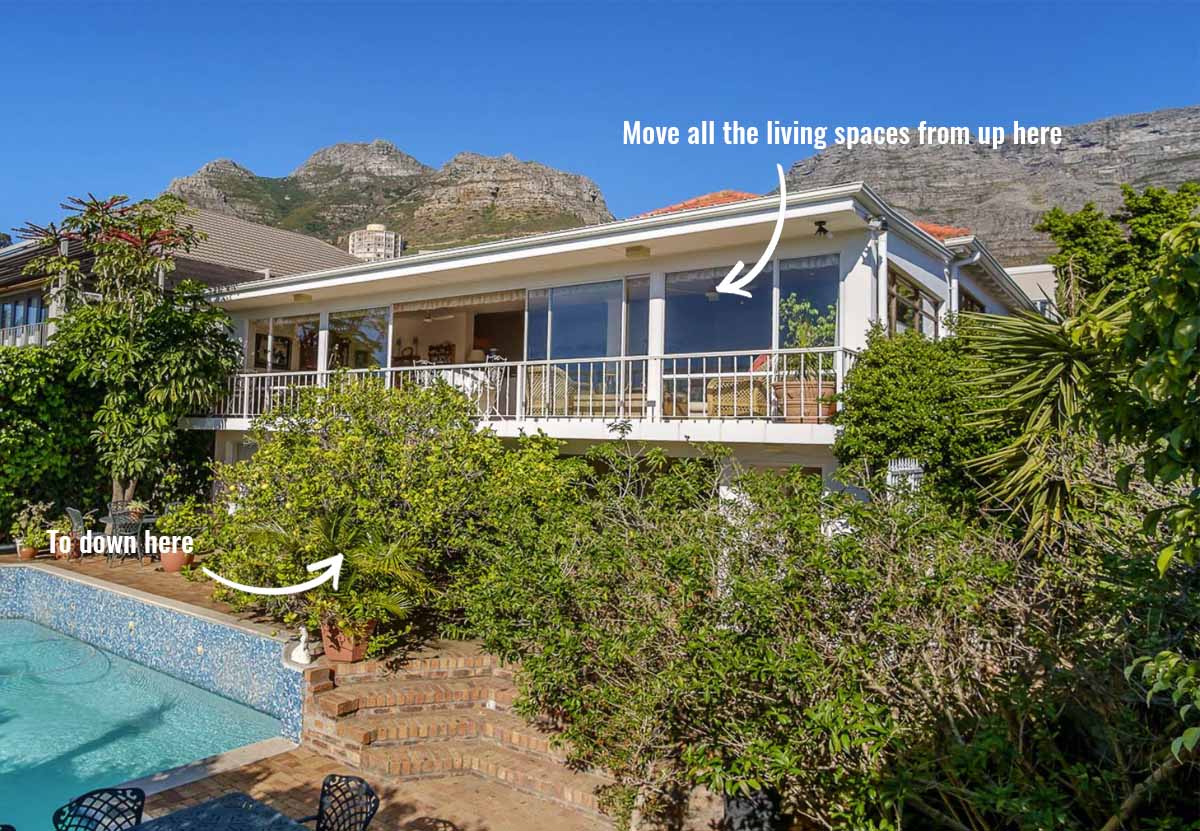
In it’s original state the downstairs space housed a garage, a home office, a small bathroom and some outdoor ‘dead space’. So to some extent we knew there were rooms that we could work with, and structurally it seemed possible. The questions were whether we could take the small separated spaces and open them up into one large, open plan area; would the whole house collapse as a result; and of course, was it affordable for us?
BEFORE
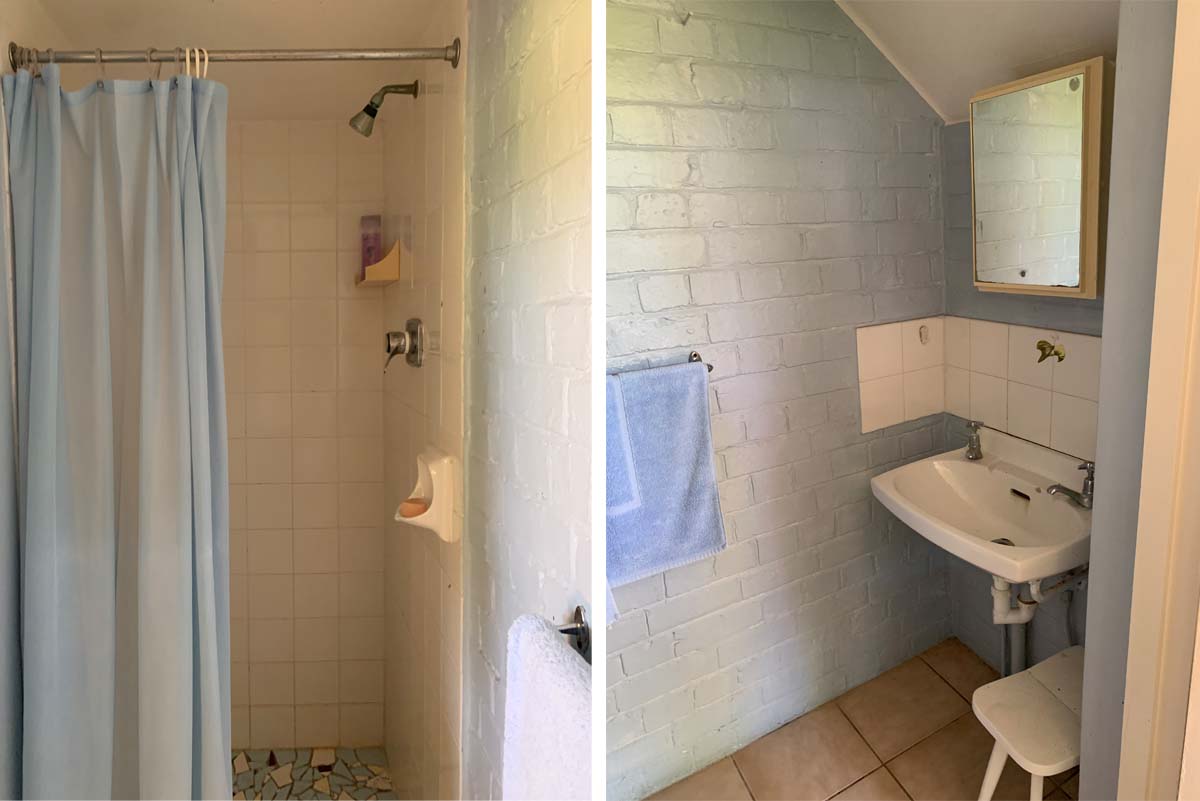
Here’s what the downstairs area looked like when we viewed the house. The home office was the biggest useable space already structurally sound and ready for redesign.
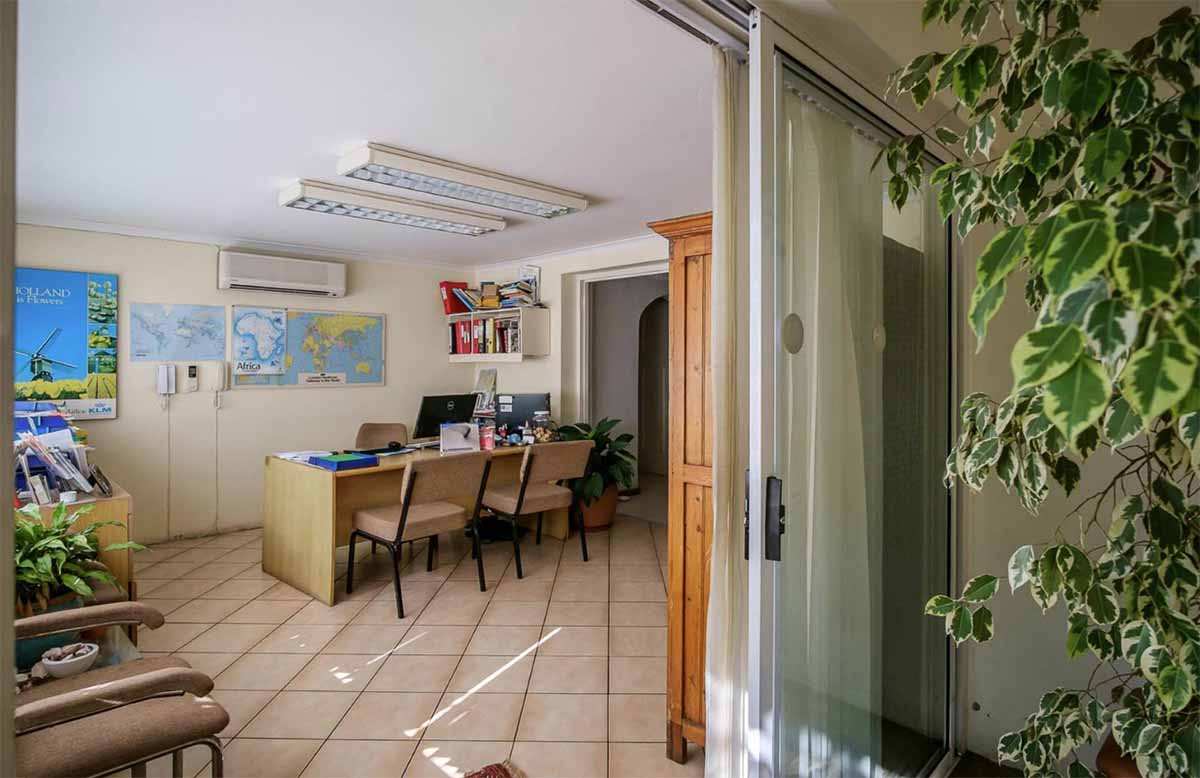
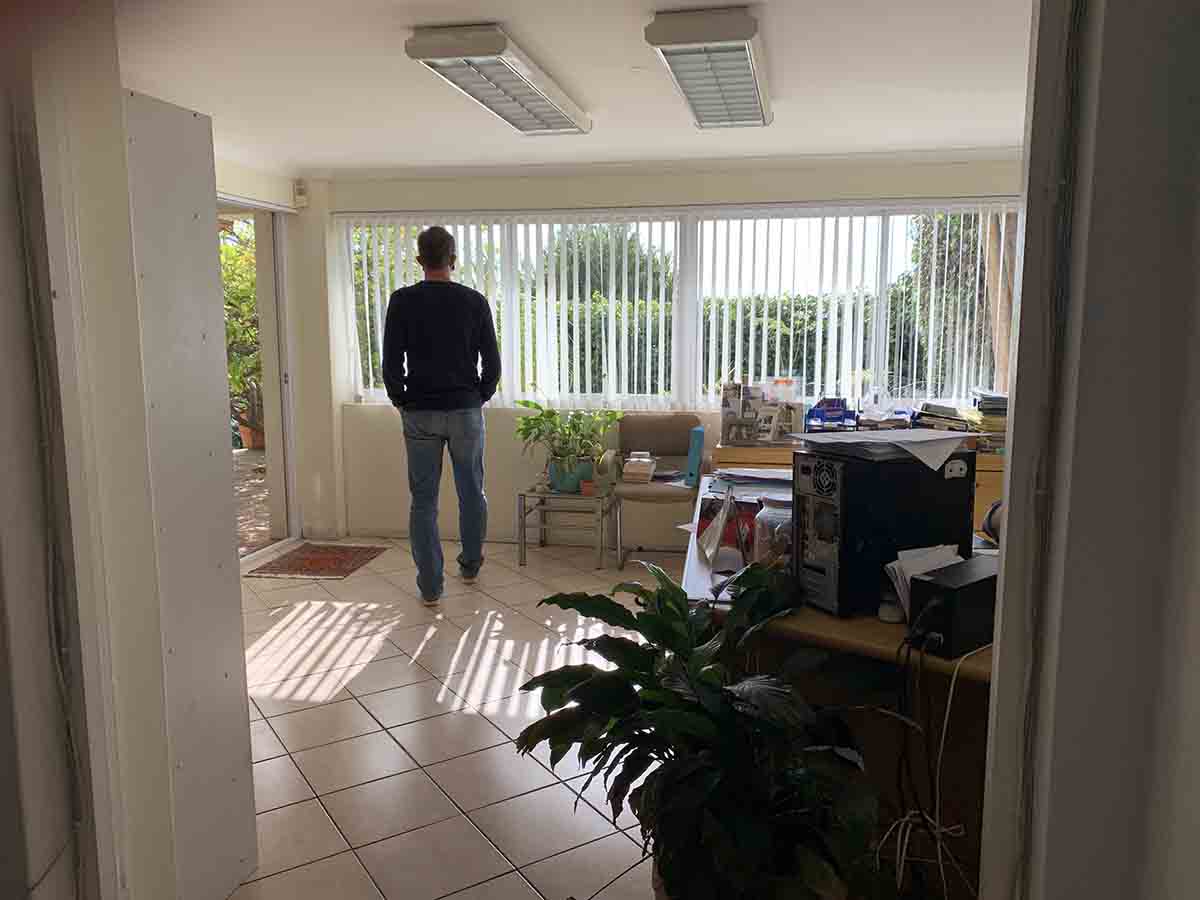
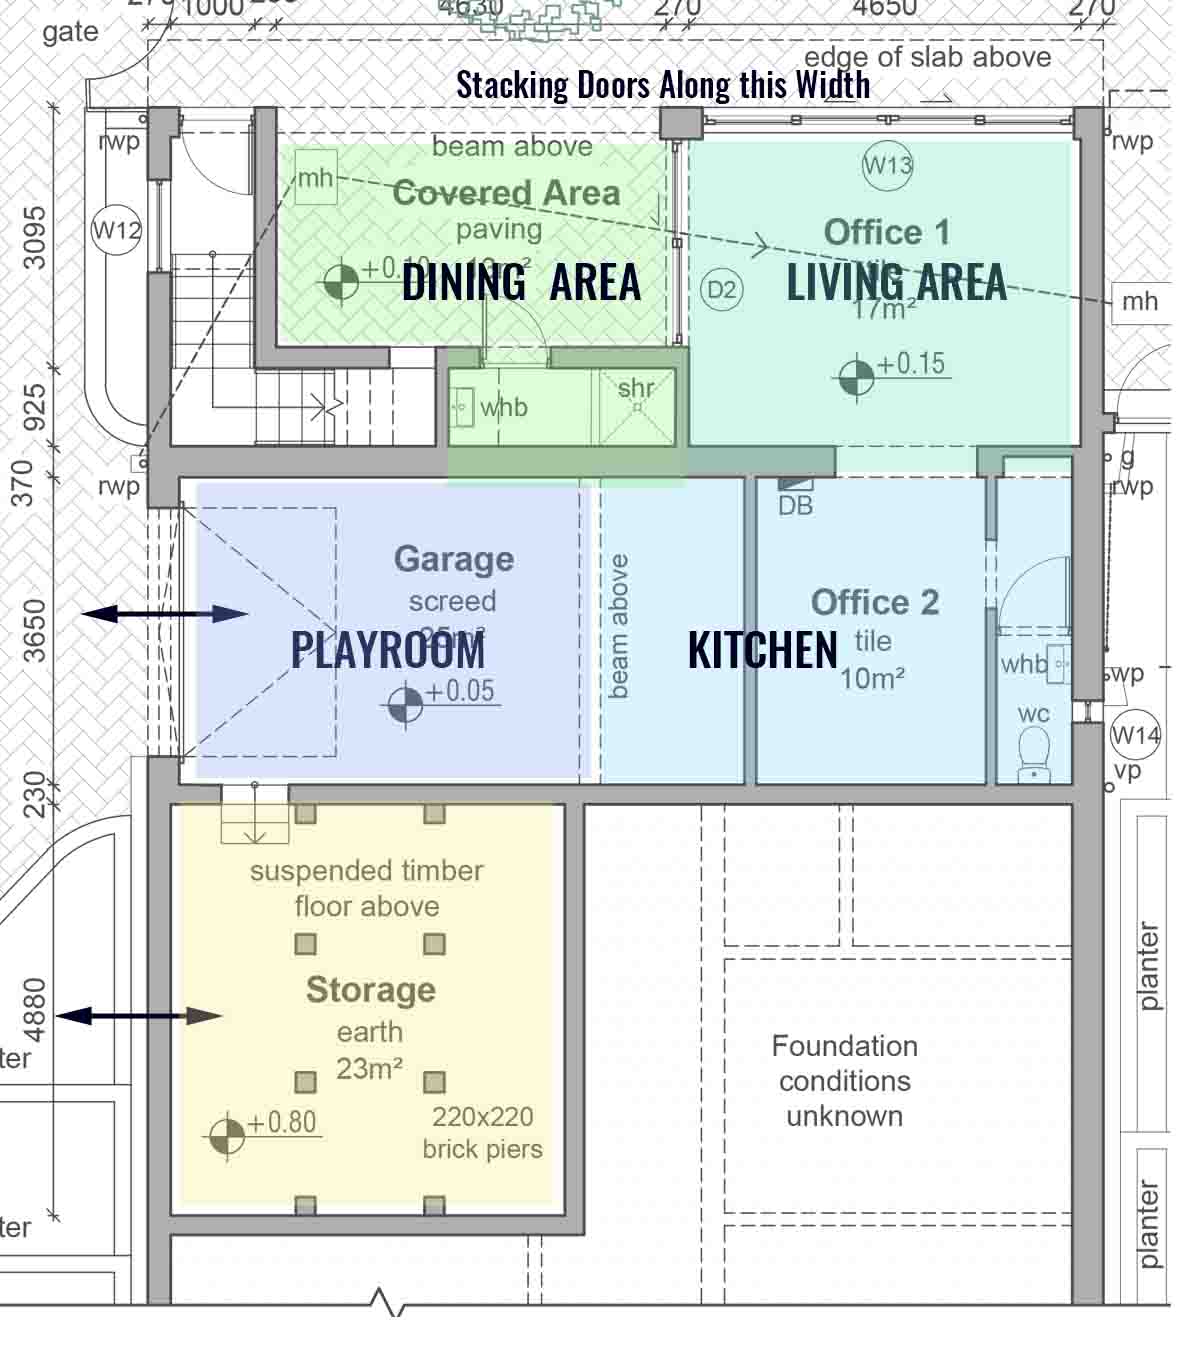
The garage and the office where separated by one wall, and it was a question of whether we could break through the walls on either side to open it all up completely.
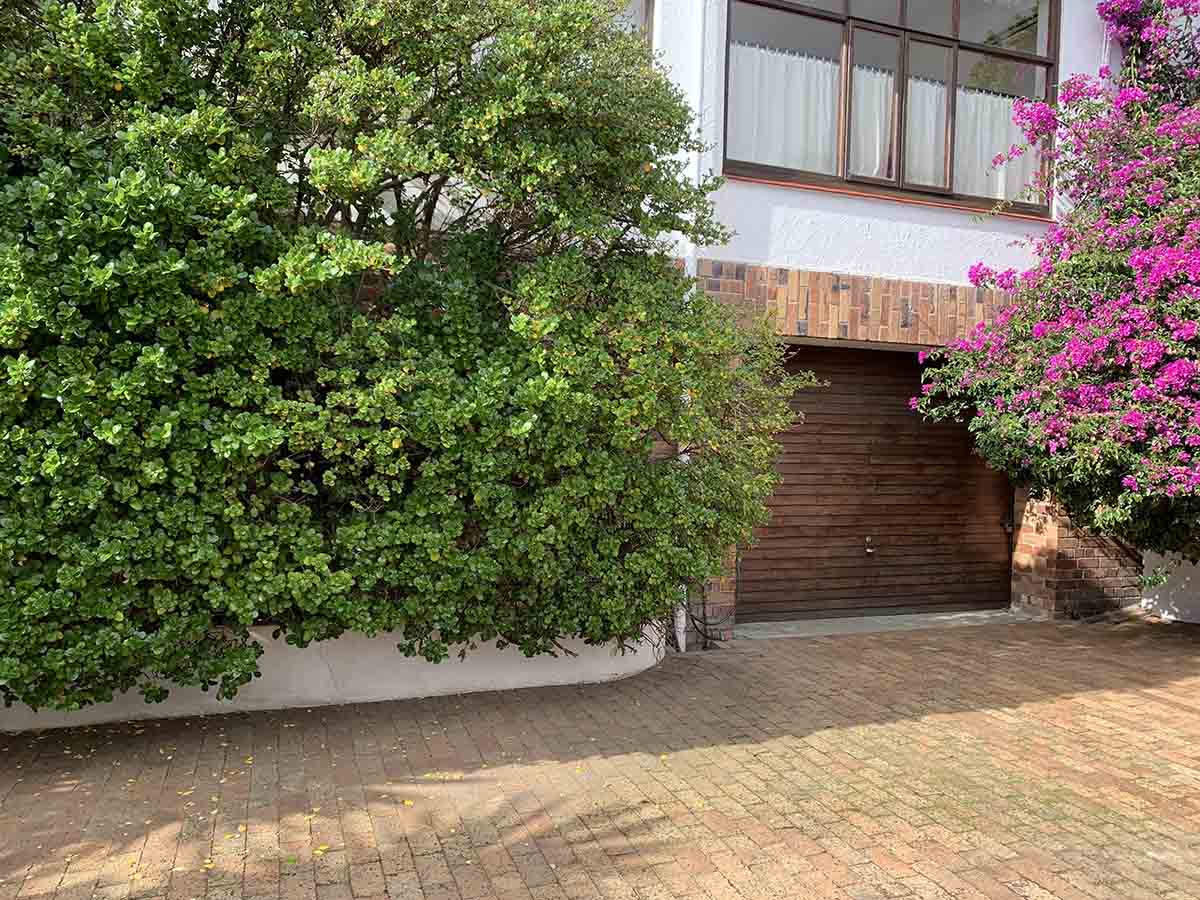
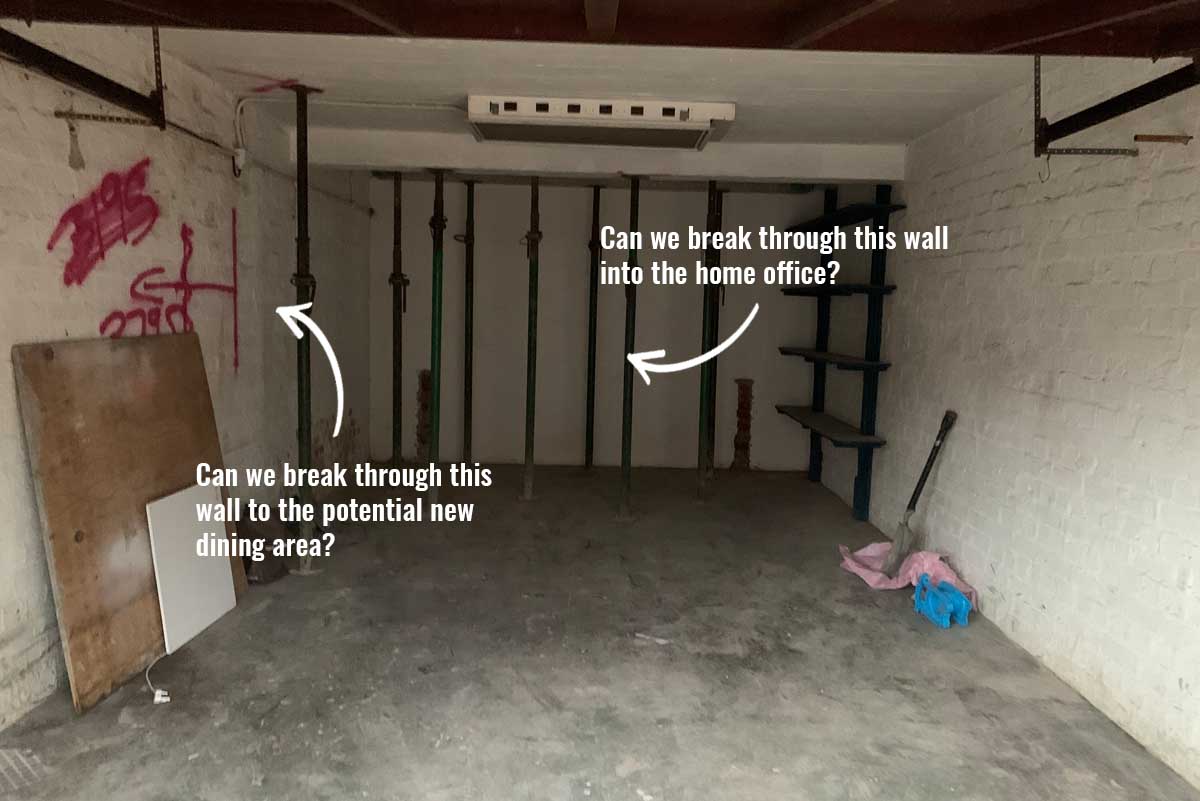
Additionally the original staircase lead straight outdoors, and we would need it to become internal. The original outdoor ‘dead space’ would then be incorporated into the indoor living areas and give us a larger footprint to work with.
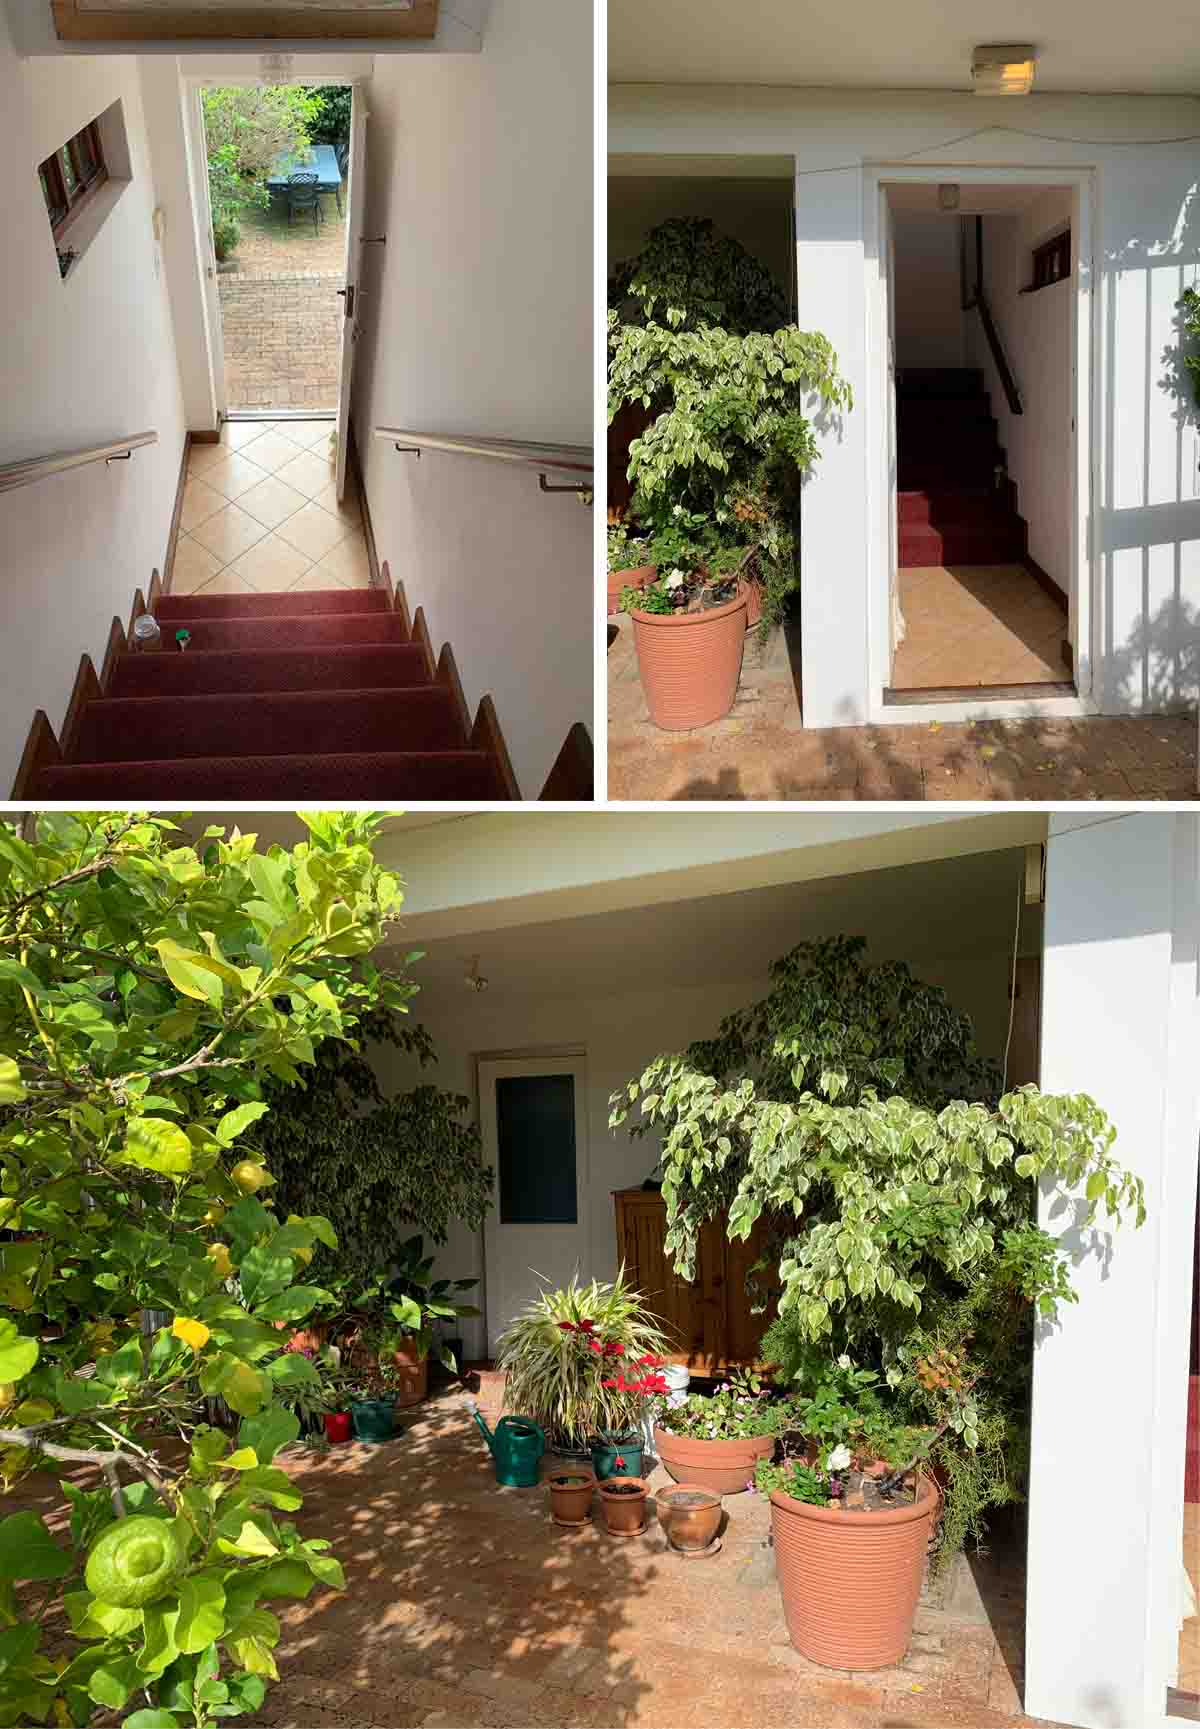
This bathroom was under the stairs, but ultimately blocked the middle of all four adjacent spaces, so was earmarked to go.
The plan below shows the original layout and how I had divided the different functional areas of the larger space. A lot of people ask how long it took to figure this out, and to be honest, this is something that I do all the time for work and something I can envision straight away. From the first walk around I had the overall layout and concept in mind and fingers crossed it would all be possible.
 THE CONCEPT
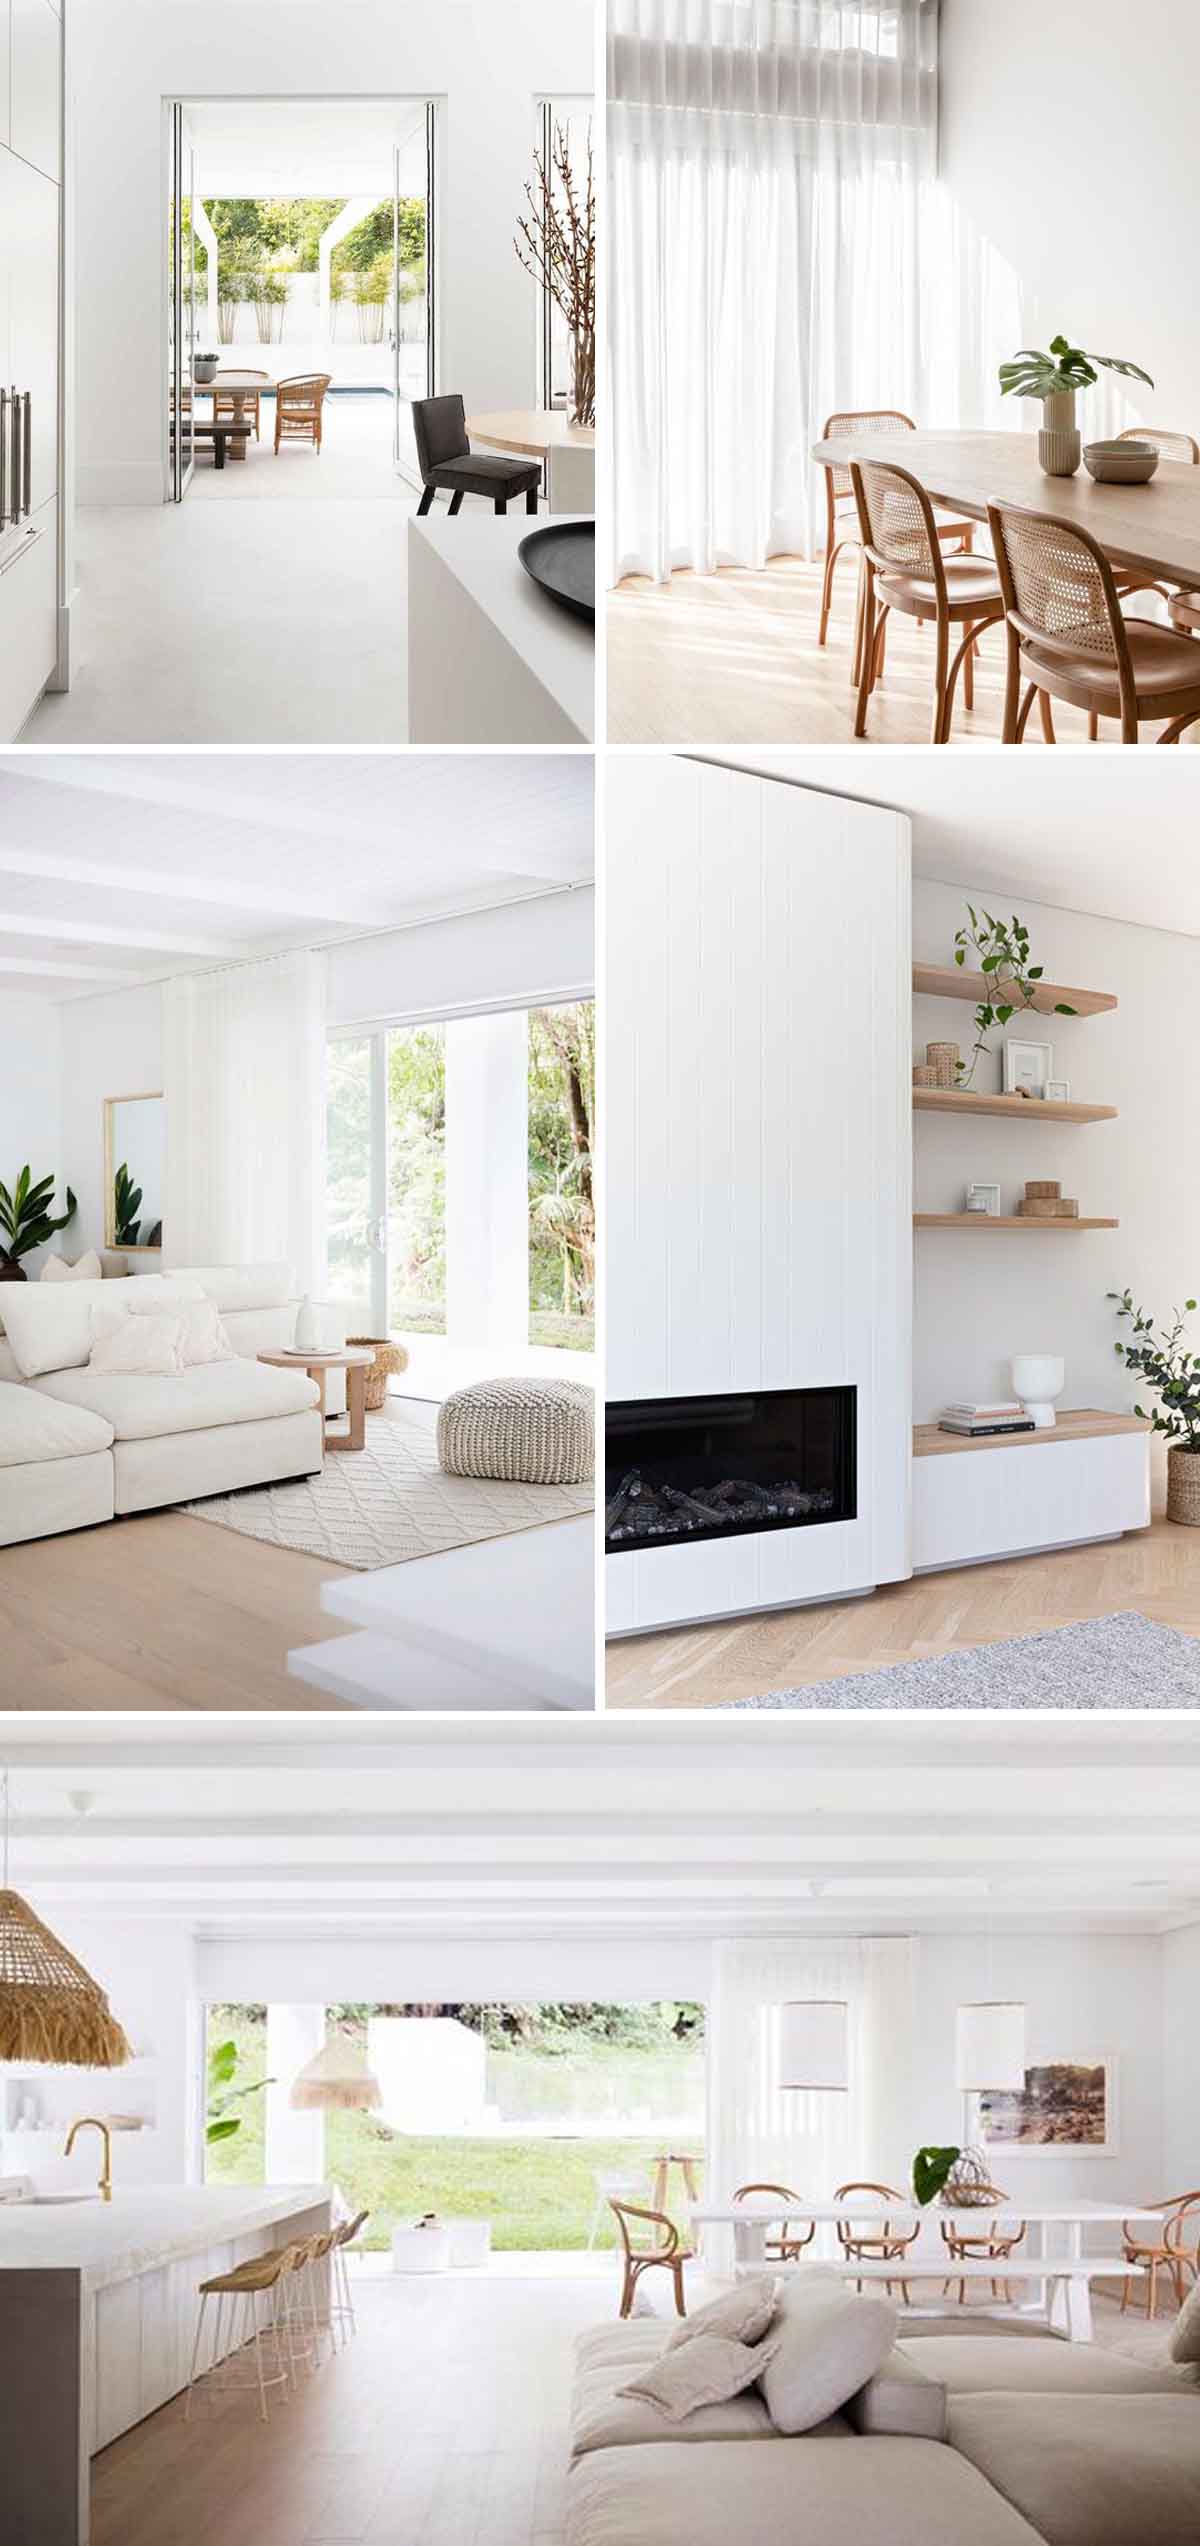
While I knew that the upstairs spaces in this house would allow me to bring in lots of colour, darkness and a mix of details and finishes, the downstairs spoke of sunshine, summer and brightness.
Say hello to my Mediterranean Villa. My thoughts immediately turned to an all white setting, preferably white flooring too (I knew this would be tricky to float past the housemate), with wood pieces thrown in and a very minimal approach.
THE PROCESS
This part of our renovation journey was dubbed Phase II. We started the House G renovations upstairs, focussing on three bedrooms, the home office and a bathroom. And landscaping. There was so much landscaping that our house looked like it received a strip wax and was left looking rather bare and more like it had been hardscaped.
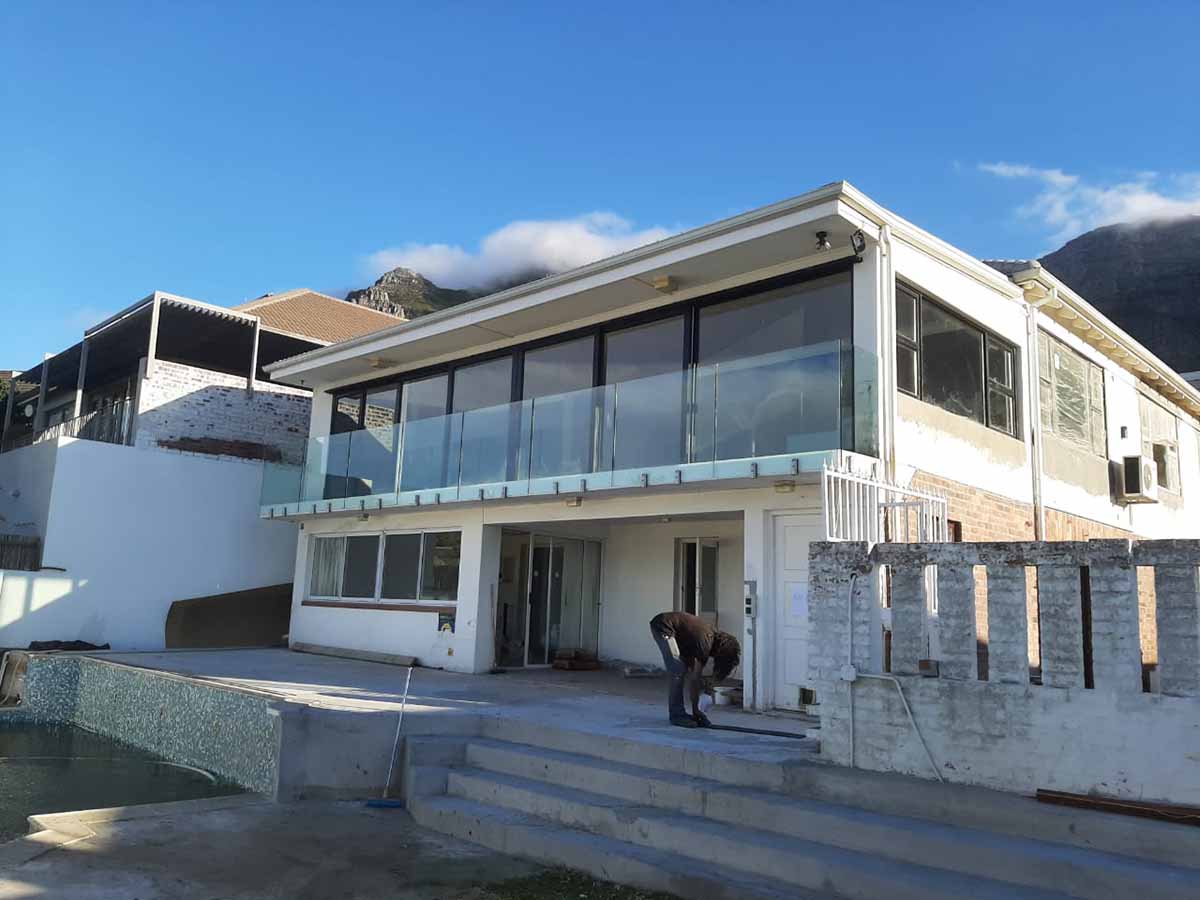
Then we moved into the house and continued with the rest. While some parts of living through the renovation was a little diabolical, it really is just a case of putting your mind in neutral (you know, for about 10 months), learning to eat dust and focussing on the end goal.
Once the we had gone through the process of having the structural engineers in to confirm load bearing capacities, beam placement and the final layouts were put in place, (and all plans were approved), we had to strategically continue with some of the landscaping work, before moving the work inside.
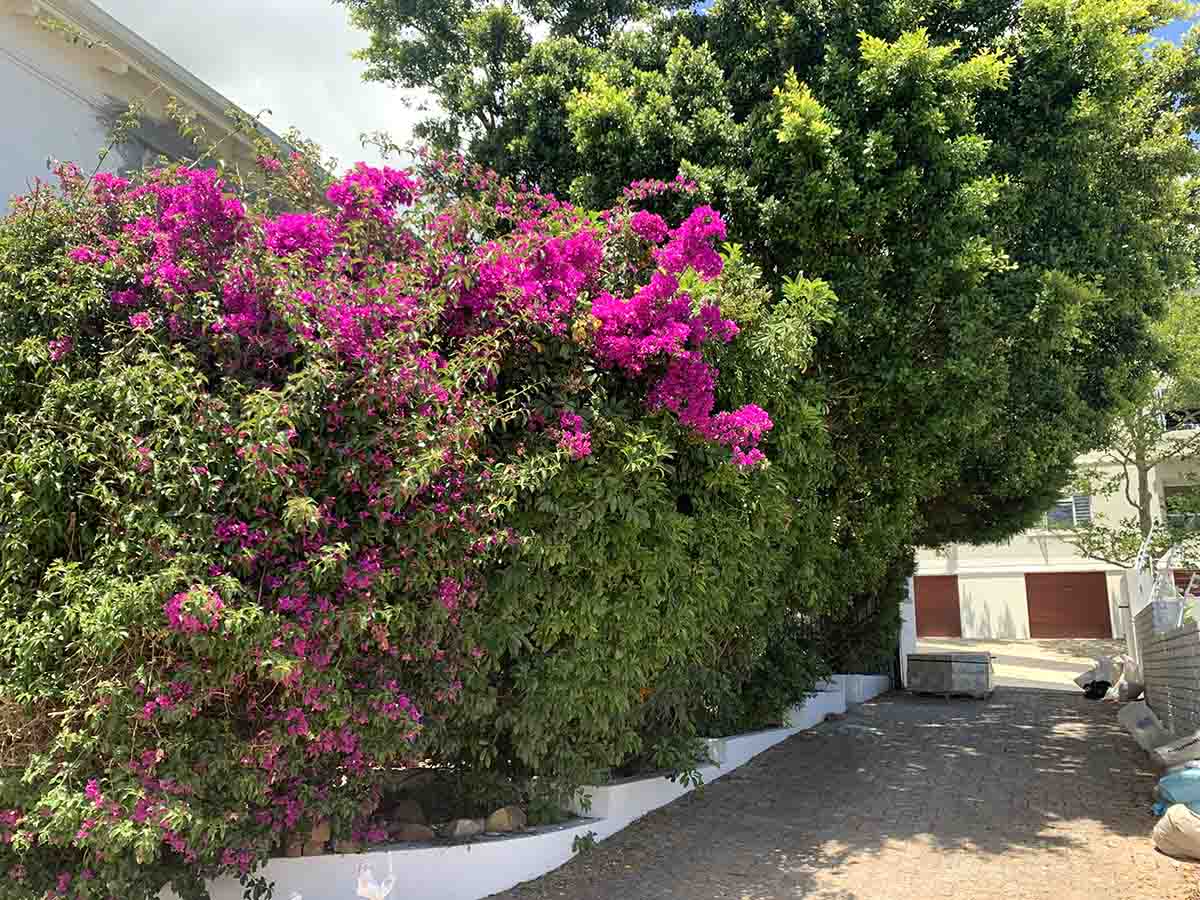
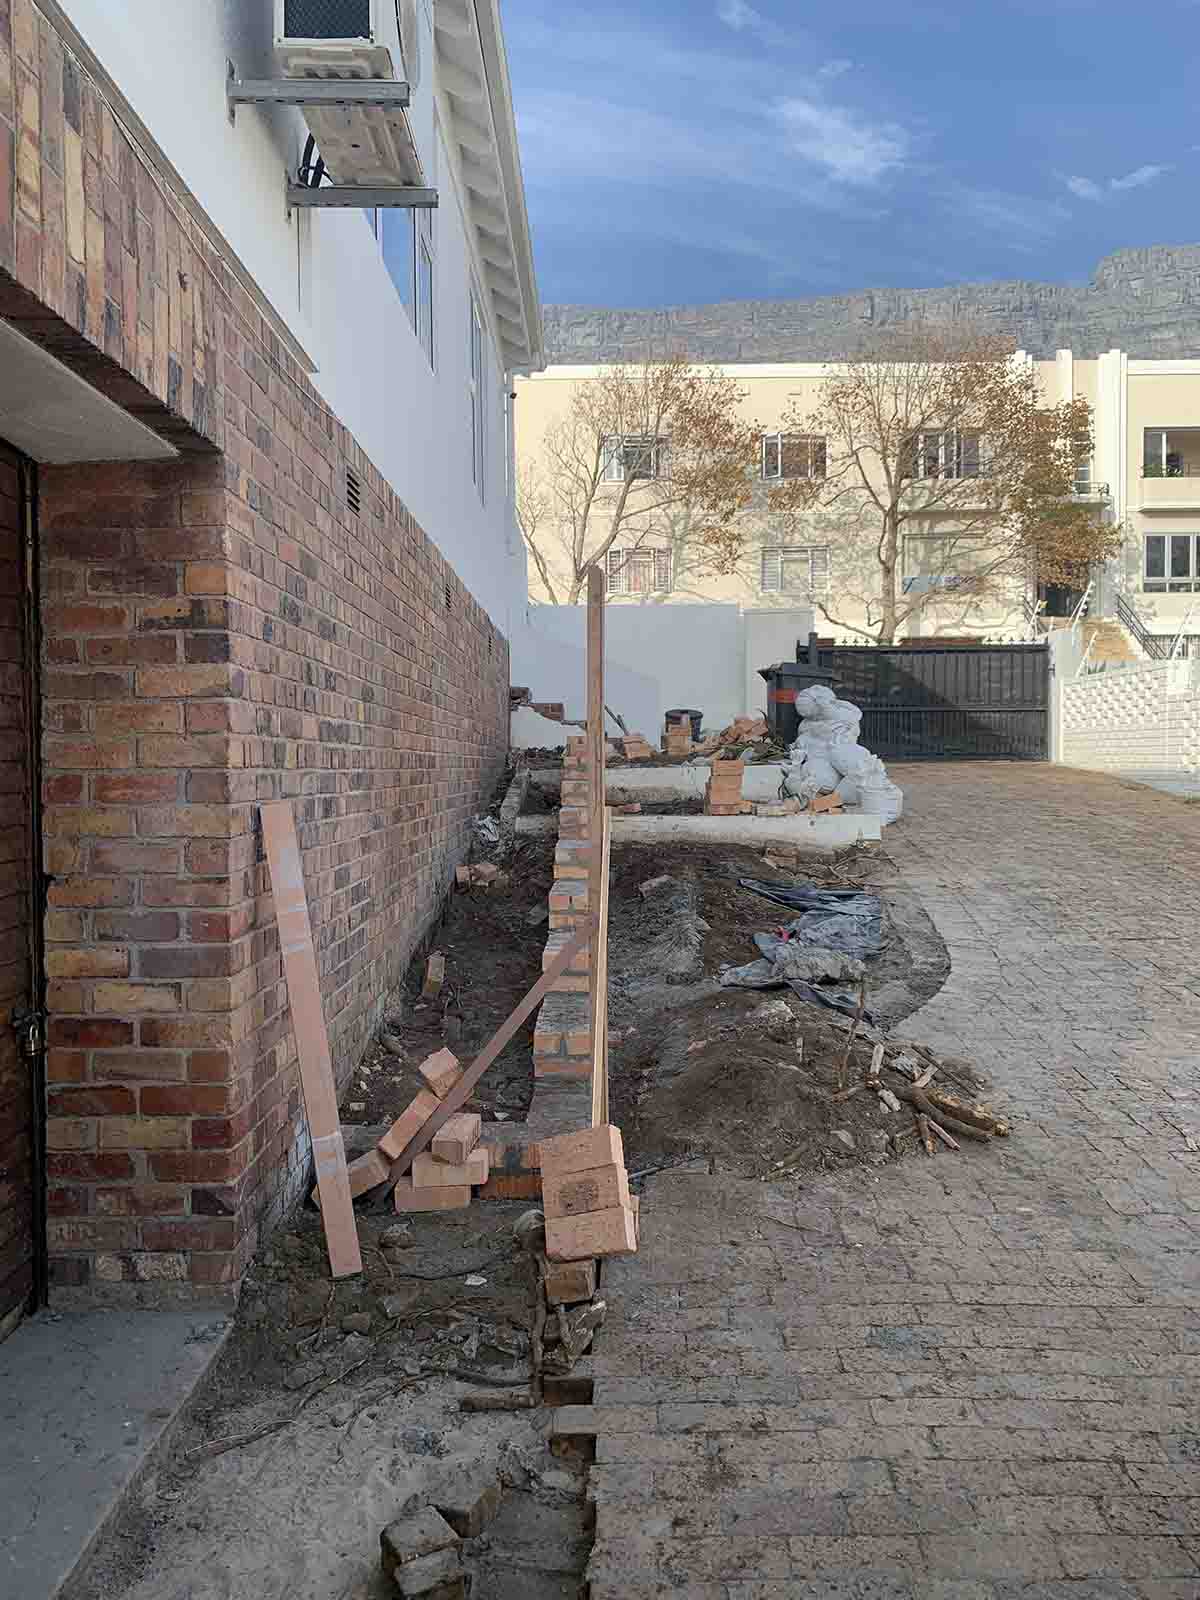
The garage (future playroom) was storing all our furniture, kitchen appliances, and extra everything. So firstly we needed to create the new storage space and outdoor staircase. So from a driveway of full foliage, we went to bare nothing, then excavated the space for a new staircase and a new external entrance to our under house storage area.
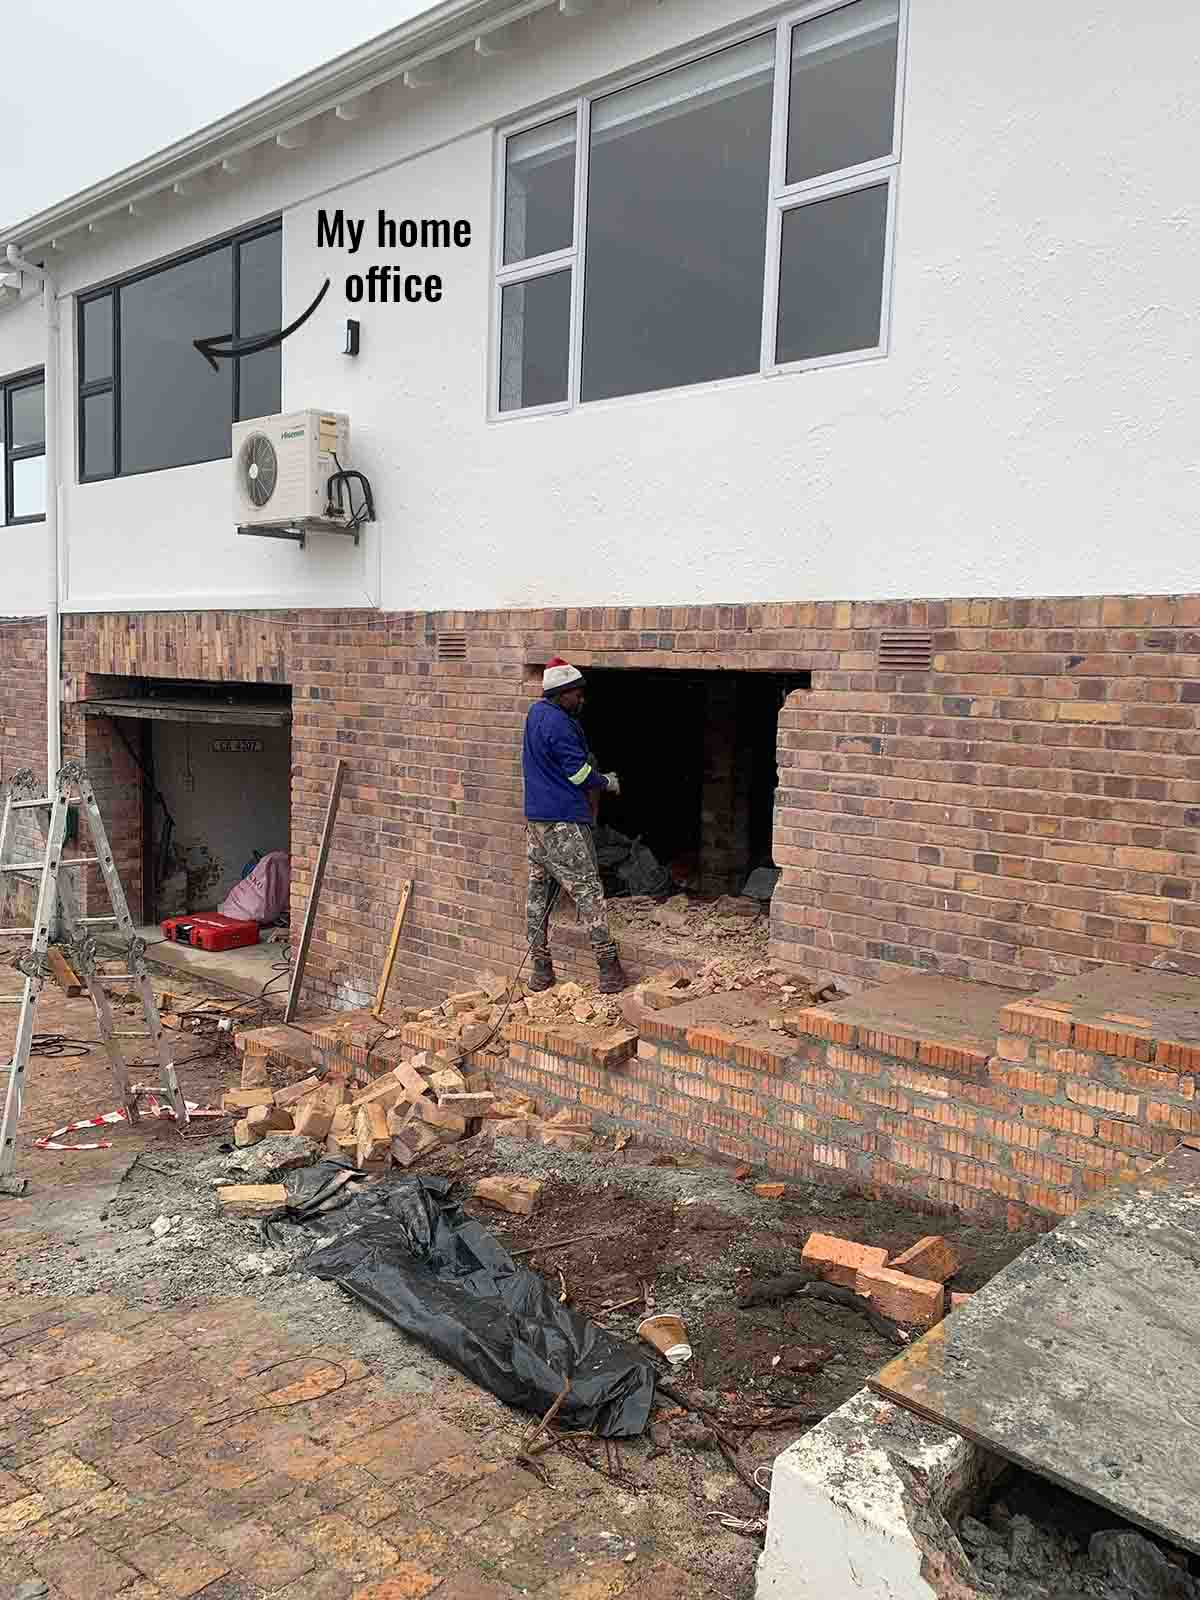
Our home office is located above the garage, so we felt every hammer every step of the way!
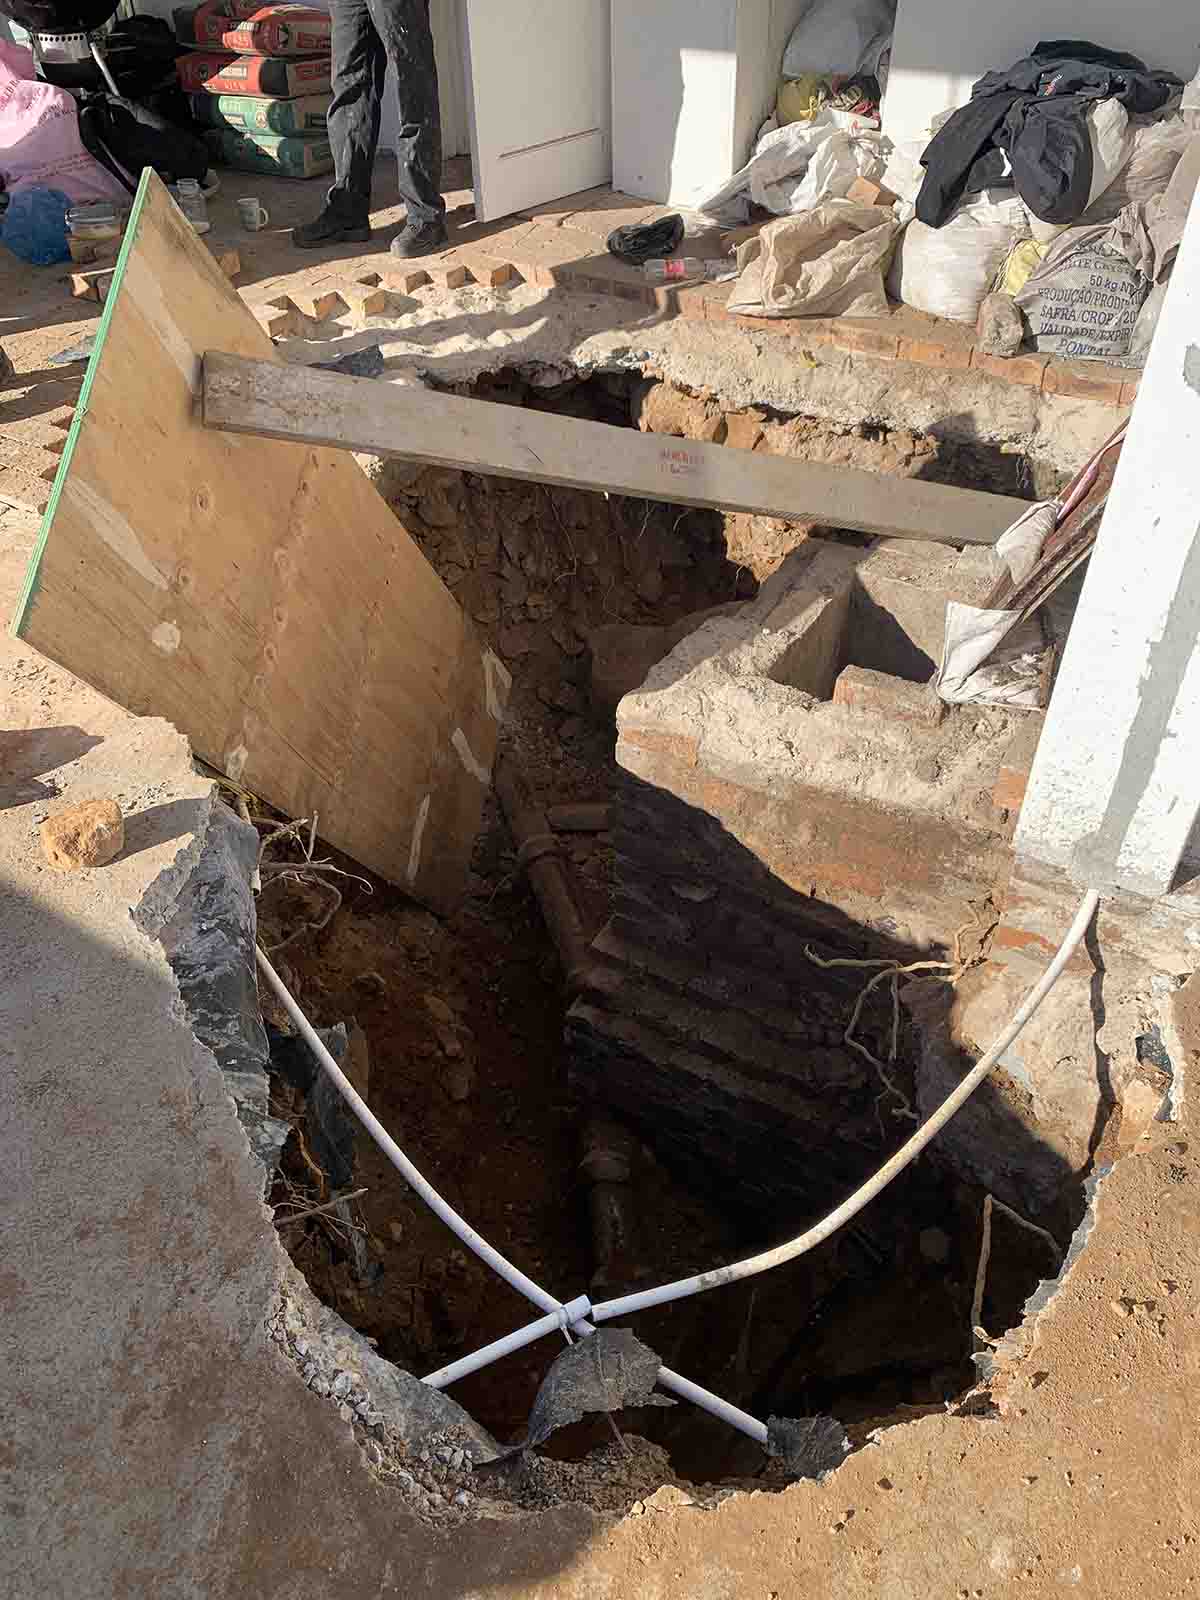
We also had the issue of there being a manhole in what would be the new dining space. Option one, leave the man hole cover in your dining room or, Option Two, excavate the area, check how and where the pipes run, and then move the manhole along the pipe route. While a somewhat costly exercise, we knew that keeping the manhole in the dining room was never going to fly, so option two it was.
One afternoon I walked down the stairs to check on progress and found this! Our kids had several months of being locked indoors, or only allowed out in local parks. It was a true kid hazard.
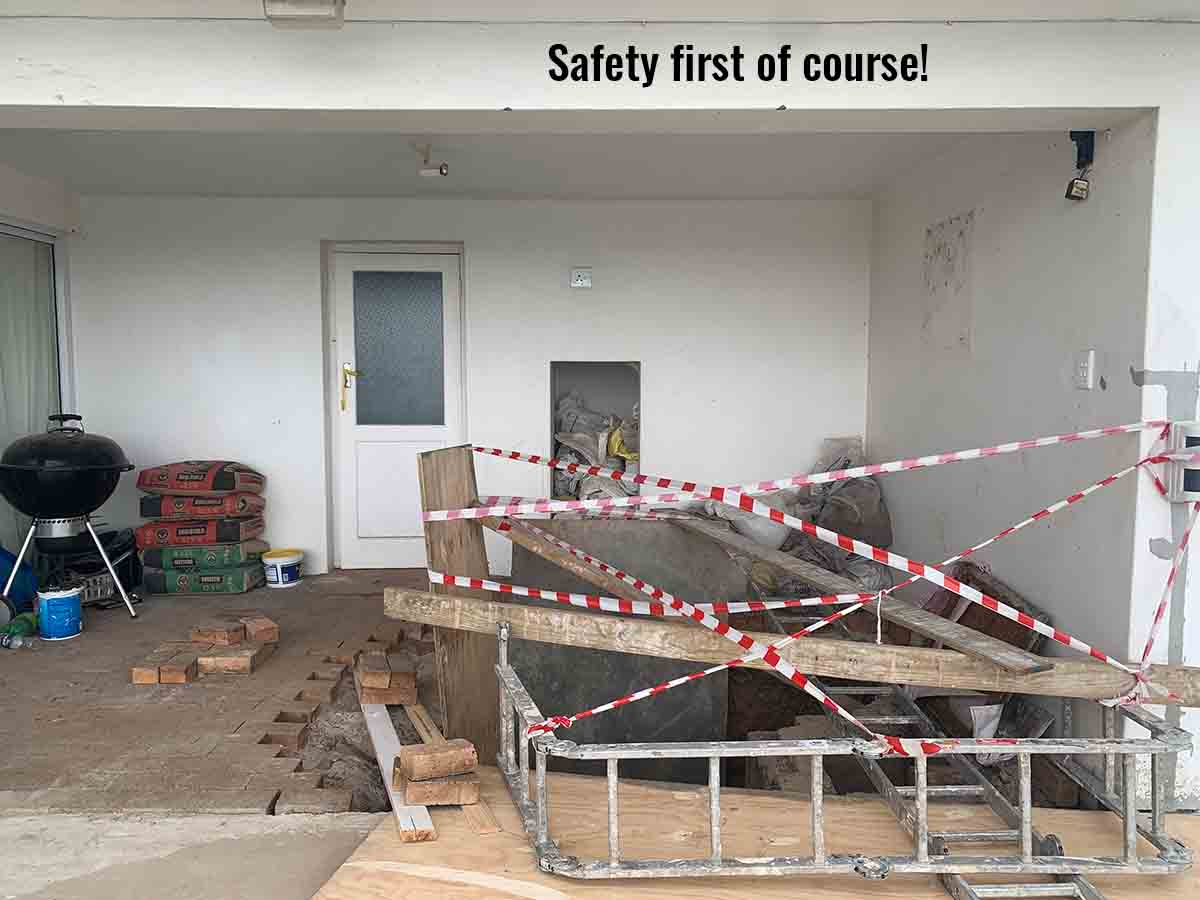
Once all the plumbing work was done and the hole was safely filled up, we could finally move to the inside work. All of these steps and this work was a very slow two month process!
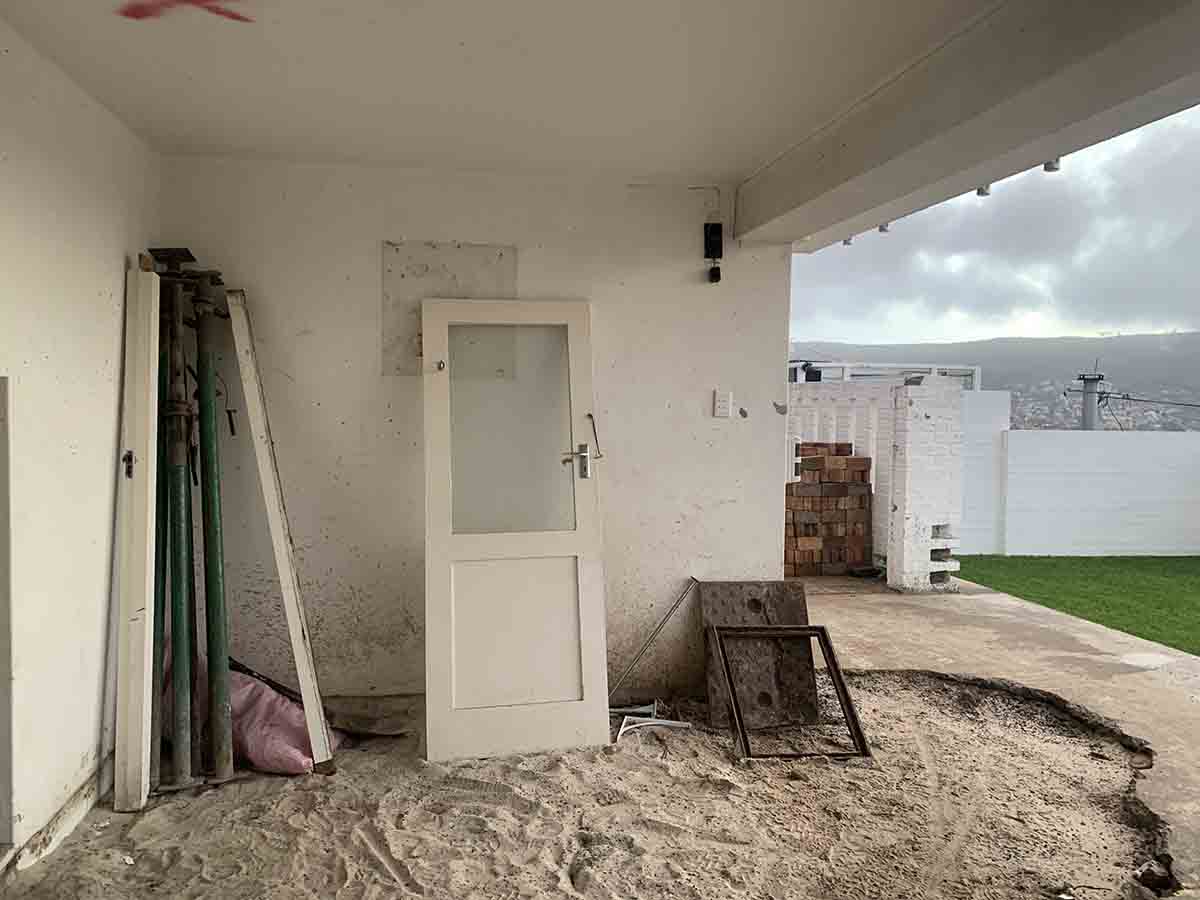
Now let the fun begin!


